Tree of Life

30 09 2009

I was in a fun online doll quilt swap on TBW. Now that my partner has received her quilt, I can blog about it!

We organized the swap through Flickr so that we could look through quilts and click favorite quilts that we liked. It was really helpful to be able to look through our partner’s favorite list to see what style and colors of quilts they liked. We were able to make whatever we wanted, but it was nice to have some photos for inspiration.

My partner loves nature and especially loves tree quilts. She also loves shades of teals, blues and greens. She said that she was working on a tree quilt and would love to have a quilt made with similar fabrics. She had quite a few tree quilts in her favorite list that I thought were really fun. I’ve always wanted to make an art quilt and decided that this would be the perfect opportunity, since it’d be a smaller quilt to start with!

I wasn’t able to find the fabrics in my local quilt stores and decided to go a different route. I pulled out all the teal, blue and green fabrics from my stash. I did a search for tree leaves and found three that I liked and traced them. I began to trace them and cut them out of fusible webbing.
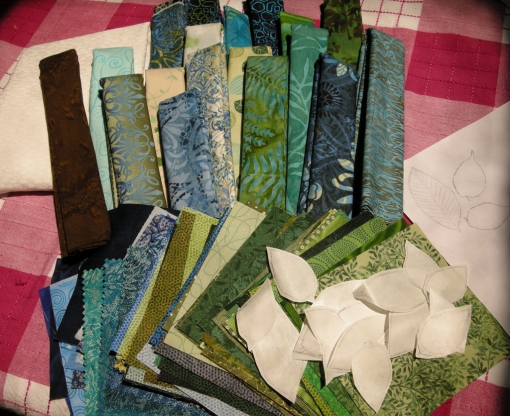
Fabrics for the Tree Art Quilt - 9-09

I had a brown batik fabric and a greenish/bluish fabric that I thought would be perfect for the tree bark and grass. Here was my first sneaky peak layout.
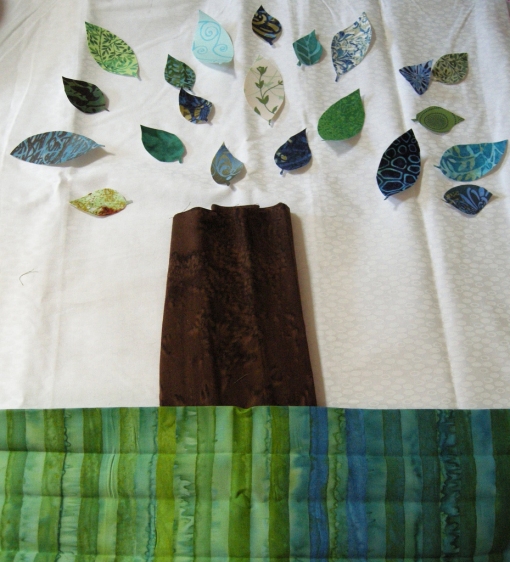
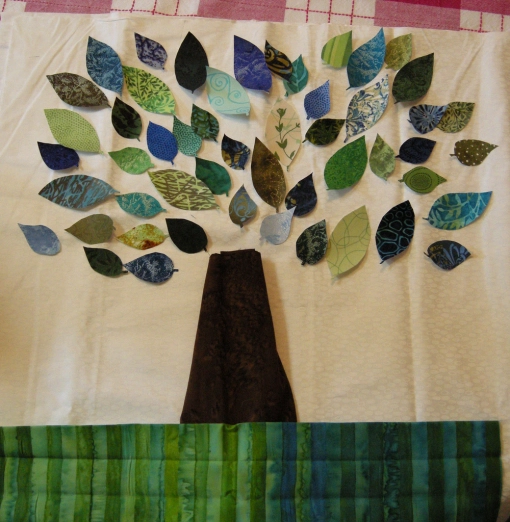
First Sneaky Peak layout for Tree Art Quilt - 9-09

First Sneaky Peak layout for Tree Art Quilt 2 - 9-09

I decided that I’d prefer the tree to have branches running up through the leaves. I found two photos for inspiration and sketched and cut out the fusible webbing for the trunk and branches.
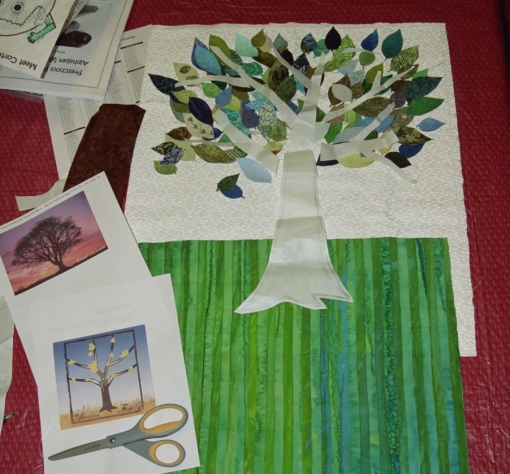
Cutting out the fusible webbing for tree - 9-1-09

I sewed the “Grass” to the “Sky” and fused the tree trunk and branches down on to the fabric.
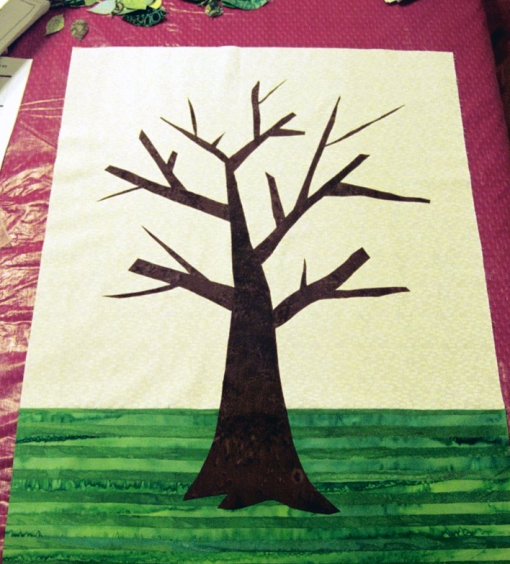
Fusing the brown Tree Trunk and Branches - 9-1-09

I ironed the fusible webbing onto the back of fabric and started cutting out the leaves and fused them onto the tree.
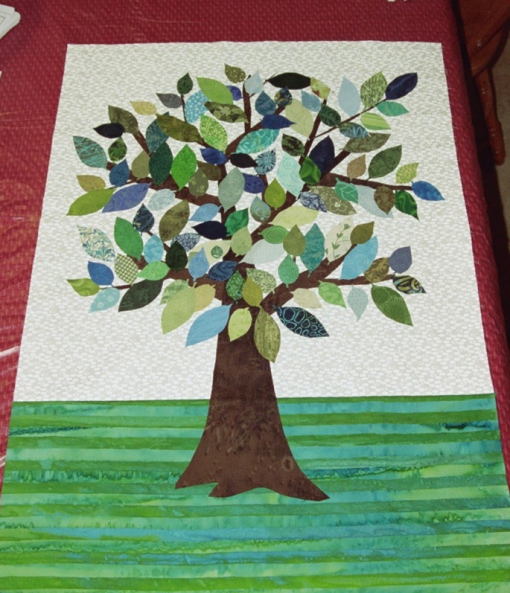
Fusing the leaves on the Tree Art Quilt - 9-1-09

I decided I wanted more leaves on the tree and cut out a bunch more. There are over 150 leaves on the tree!
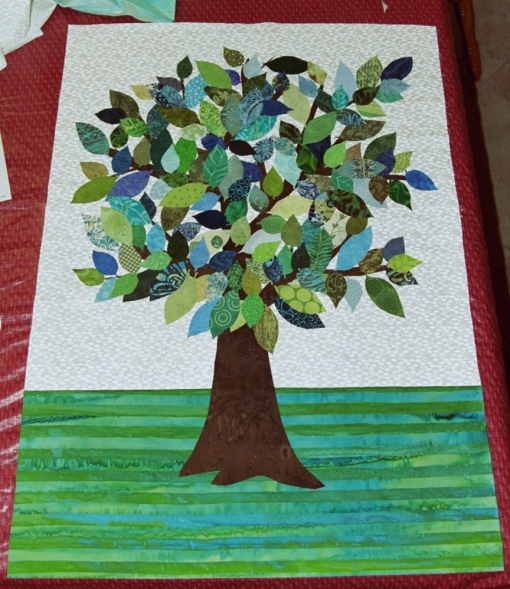
Finished fusing the leaves onto Tree Art Quilt - 9-1-09

To save time, I decided to applique and quilt the tree at the same time. I dubbed it “appliquilting”. 🙂 I had several variegated threads that matched the quilt and decided to use them all when quilting the Tree Art Quilt and I used a stippling stitch on the leaves.
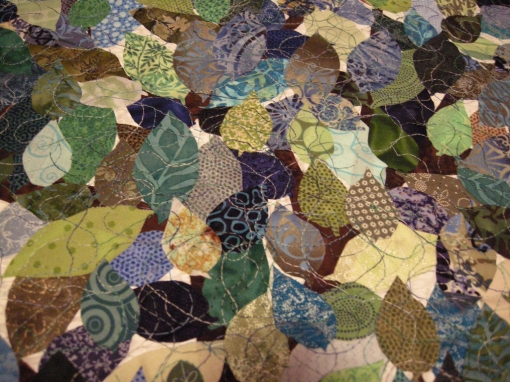
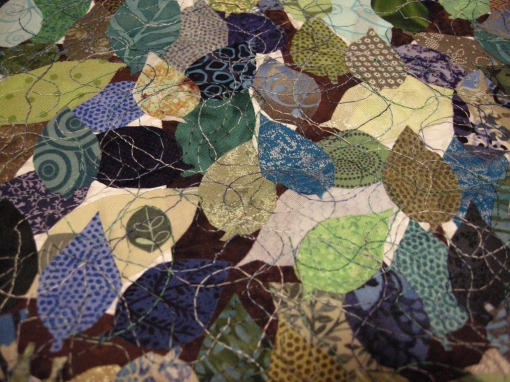
Close up of quilted leaves on Tree Art quilt - 9-09

Close up of quilted leaves on Tree Art quilt 2 - 9-09

I stitched around the main tree trunk and then decided to get creative with the “Grass” part of the quilt. I used a free motion to create “Tuffs” of grass and used three different variegated threads to make it look more interesting. Once it was all quilted, I cut strips from some of the different fabrics I used in the leaves and made a scrappy binding. I was wanting to hand stitch the front of the binding but ran out of time and used a decorative stitch instead.
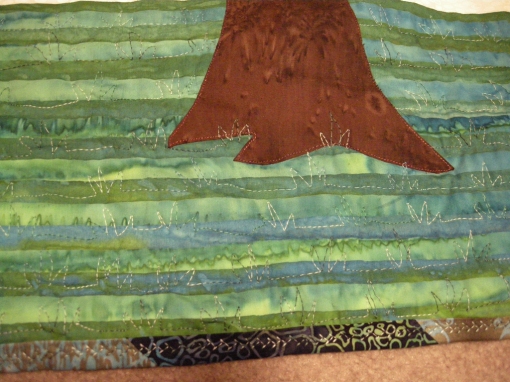
Tuffs of Grass quilted on the Tree Art Quilt - 9-09

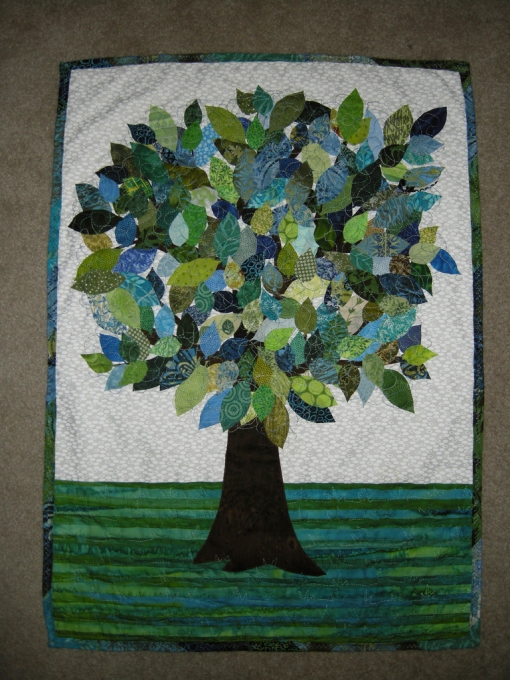
The finished Tree Art Quilt!!!

Finished Tree Art Quilt - Front - 9-09

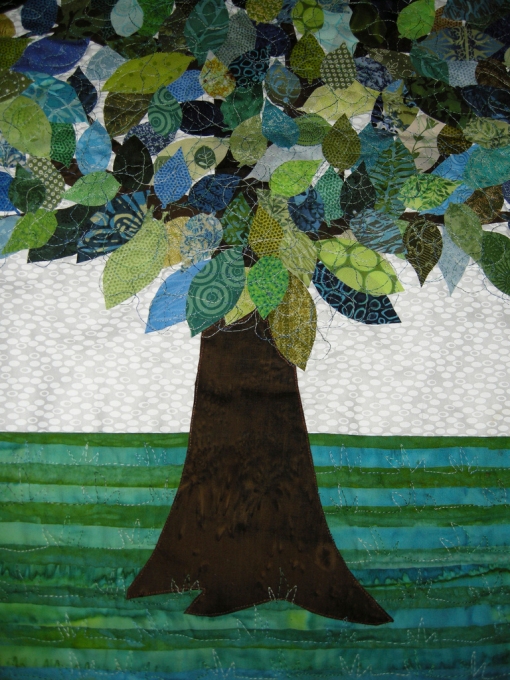
Closer Look

Close up of the Tree Art Quilt - 9-09

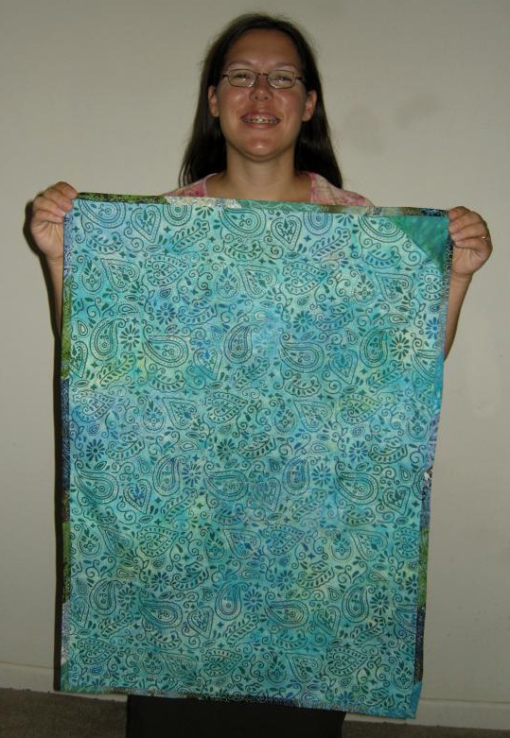
I had this really fun batik Indian Paisley fabric that I decided to use for the backing fabric. I took a square and folded it in half diagonally and stitched it into the corner when I sewed on the binding and then hand tacked the edge down. I then used a acid free fabric pen and wrote a message on the label.
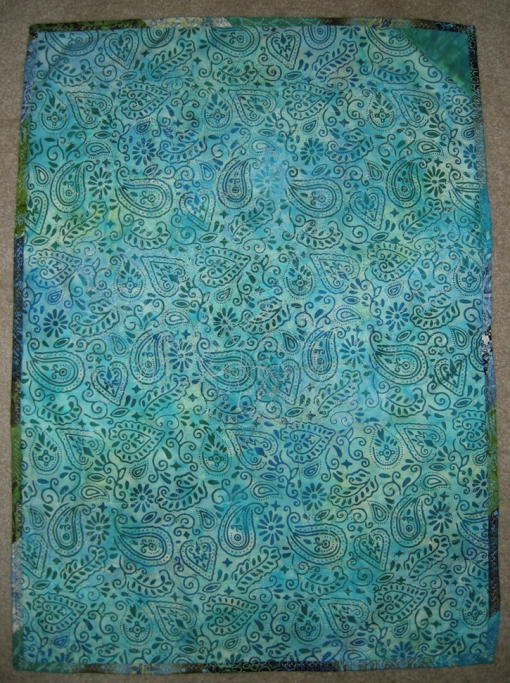
Back of the Finished Tree Art Quilt with label - 9-09

To give you an idea of the size, here is a picture of me holding up the quilt. This is my “It’s late and I’m exhausted but I’m thrilled my Tree Art Quilt is finished, but I keep blinking and can’t stop laughing” smile.
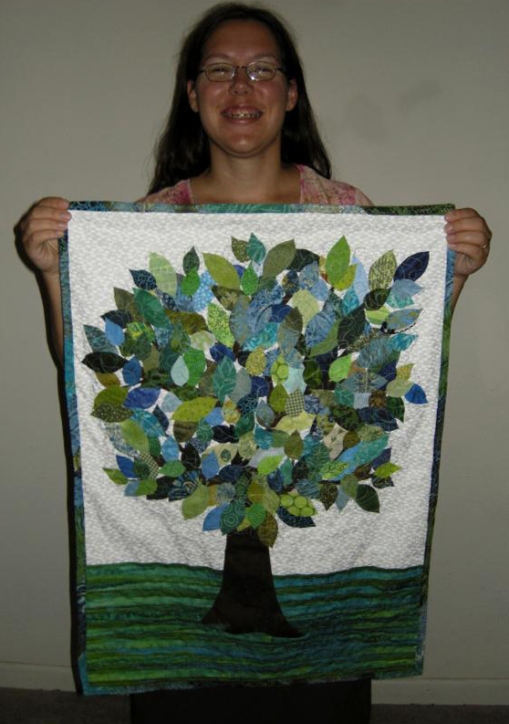
Jen holding up the finished Tree Art Quilt - 9-09

Jen holding up the back of the finished Tree Art Quilt - 9-09

It was so hard to mail this quilt off, as so much time and thought and creativity went into this quilt! My brain was working overtime as I slowly figured out what I wanted the quilt to look like and it was fun to come up with new ideas and try new techniques!

I have enough fabric to make myself a Tree Art Quilt. I plan to embroider a verse onto some fabric and sew it onto the fabric under the tree. I want it to say, “‘Then all the trees of the forest will sing for joy’ – Psalm 96:12b” and on the label name it “Tree of Life”. I have the perfect spot in my hallway to hang it up! I have quite a few Christmas projects I’m going to work on this fall, but I look forward to making my own Tree Art quilt next spring! And I already have other new art quilt ideas bouncing around in my brain!
Eliana’s First Haircut!!

24 09 2009

I’ve been meaning to take Eliana in for a haircut for quite some time. Her hair on the back was starting to look scraggly. But I was waiting for her bangs to get longer so that I could get it cut it all one length into a shoulder-length bob and then grow it out long.

Well… a certain little girl took scissors to her hair… not just once, but TWICE! In the span of a week.

So that bumped up the haircut.

The part I was most upset about is that she cut her bangs. Thankfully, she did a nice job of layering them sideways. But you can tell on the back of her head where the hair was cut. I wasn’t willing to cut her hair that short, so I was hoping that a hair stylist would be able to work with it. A friend told me about a lady that cuts hair out of her home just down the street from us! She was able to work us in for an appointment. I took tons of pictures, of course, and Eliana was quite happy with the end result.

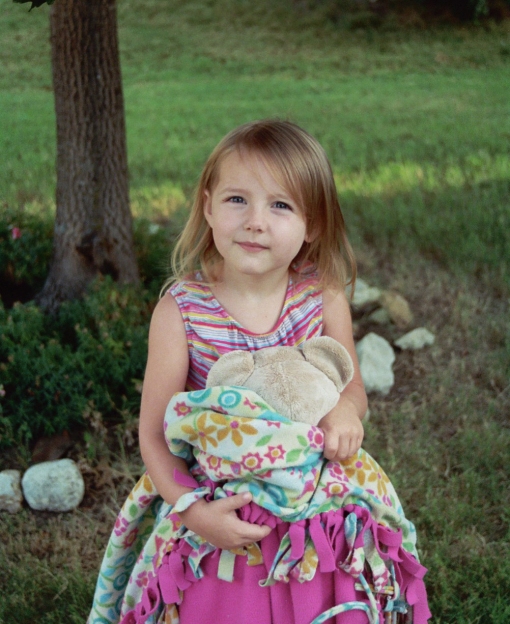
Here is the front of hair before the haircut. You can sort of see the cut bangs swept to the side. She was a little nervous about her haircut, and wanted to bring her special blanket and Eliana Bear with her to the appointment.

Eliana - Before haircut - front- 9-08-09

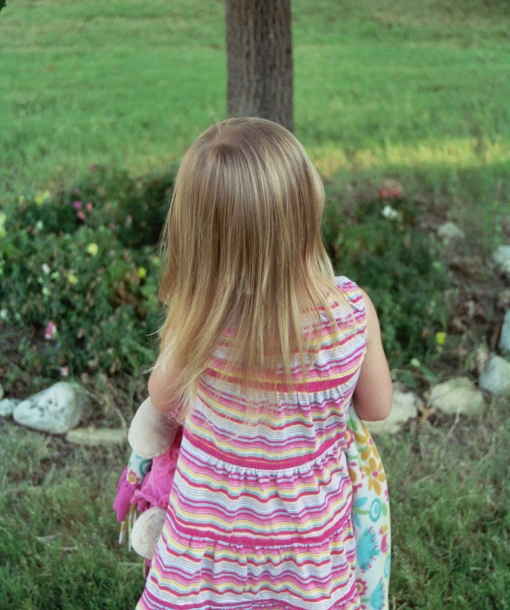
Back of her hair. You can see the cut hair up by her neck. I didn’t want it cut this short. Also, there are tuffs of hair about 1″ long on the top of her head. Yup, that’s another section that she cut.

Eliana - Before haircut - back - 9-08-09

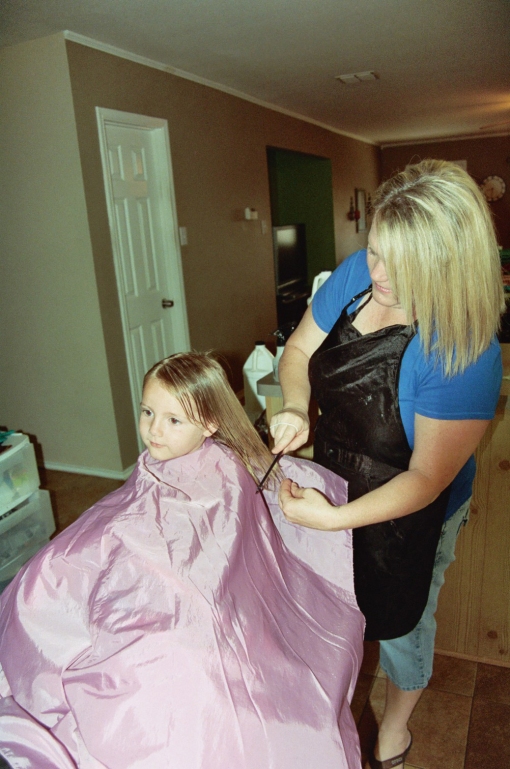
Miss Karen and I talked about what should be done. We decided to go ahead and go for a shoulder length bob like I had originally intended and we’ll go back every few months for trims until the hair all grows out to one length, and then will let it grow out long. Eliana sat on a big cushion so that she’d be high enough for Miss Karen to cut her hair. I had her take a bath before we went to the appointment, so Miss Karen just had to wet it down. Here, she is combing it all out. And you can’t tell, but she’s holding her blanket under the pink haircut tarp.

Miss Karen combing out Elianas hair at 1st haircut - 9-08-09

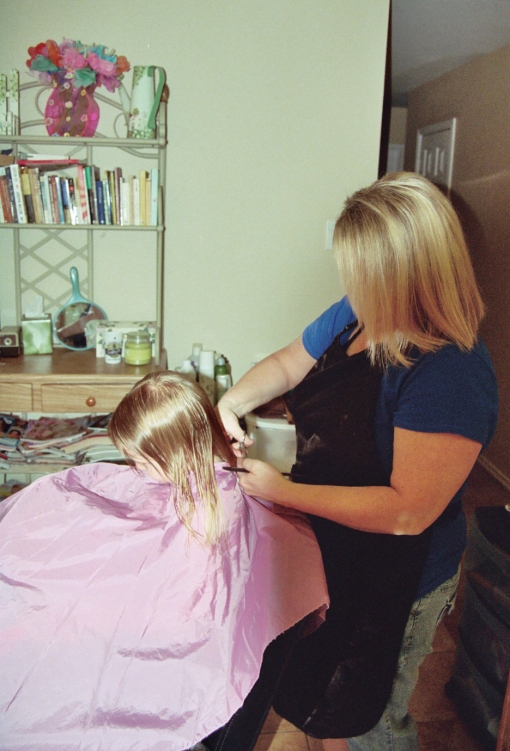
Making the first cut!

Miss Karen making the first cut on Elianas hair - 9-08-09

Miss Karen cutting Elianas hair - 09-08-09

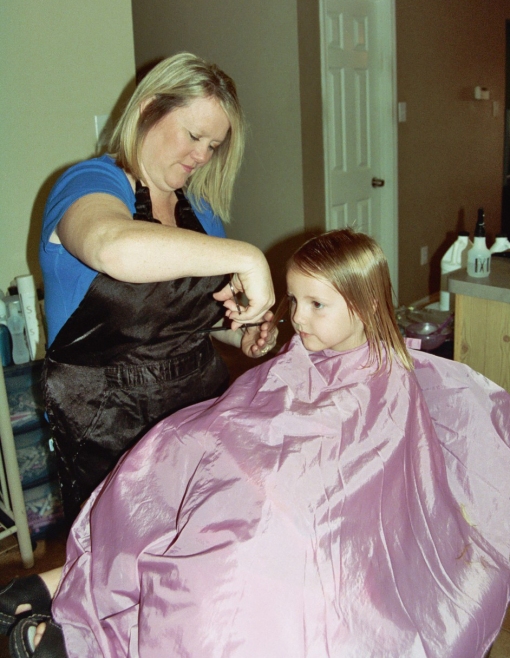
Tapering the bangs.

Miss Karen trimming the bangs - 09-08-09

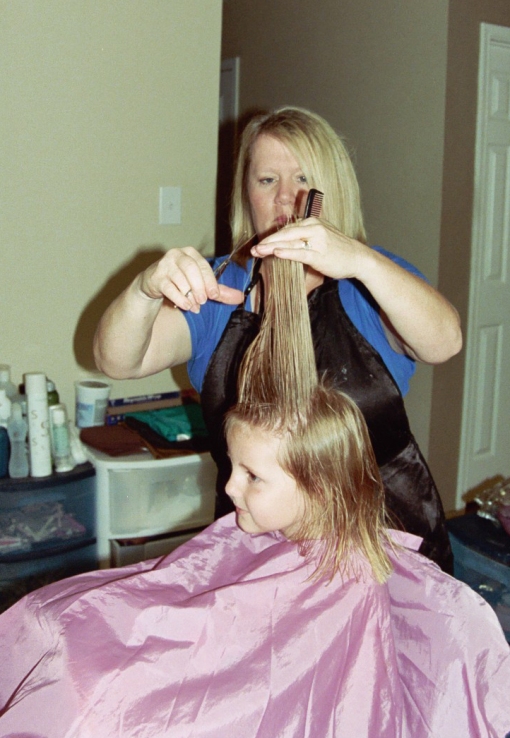
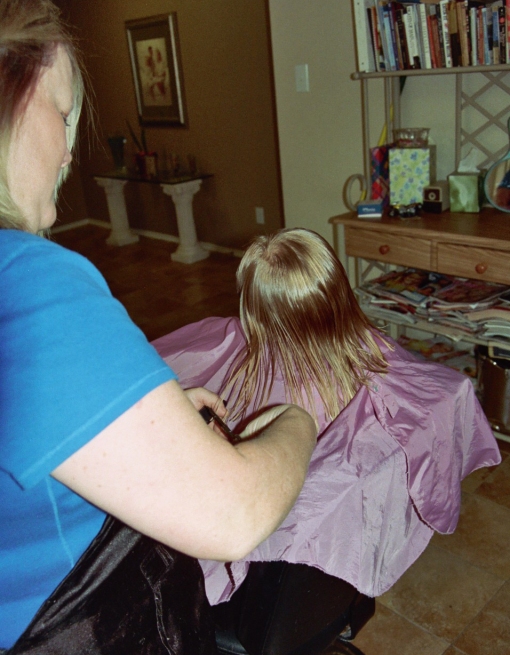
Adding some layers.

Miss Karen adding some layers to Elianas hair - 09-08-09

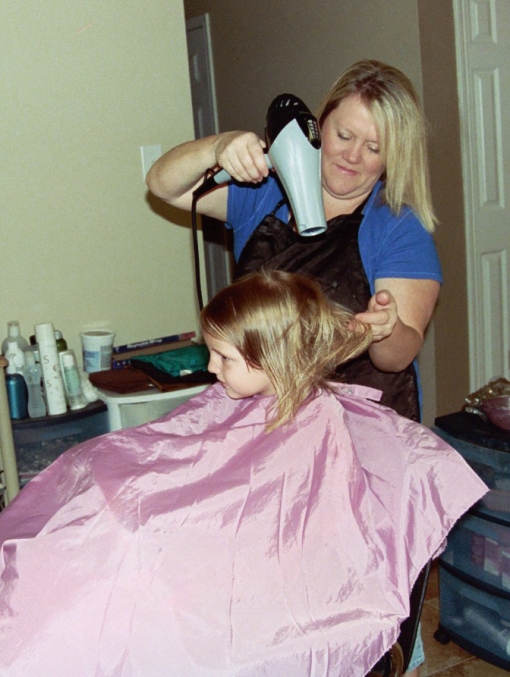
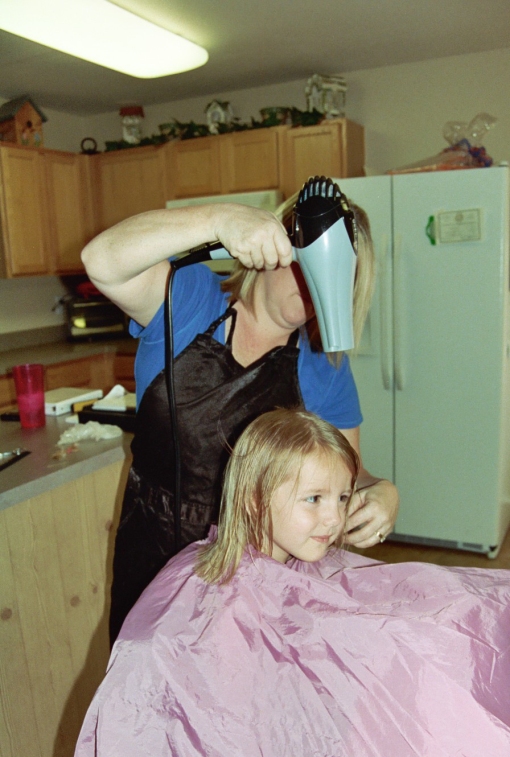
It’s all cut! Time to blow dry Eliana’s hair!

Miss Karen blow drying Elianas hair after the haircut - 09-08-09

Miss Karen blow drying Elianas hair after the haircut 2 - 09-08-09
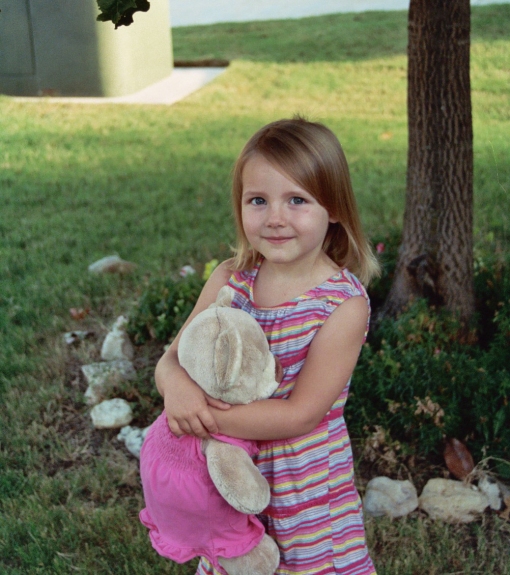
It’s all done! Eliana’s first photo of her finished hair cut!

Elianas 1st photo of finished haircut! - 09-08-09

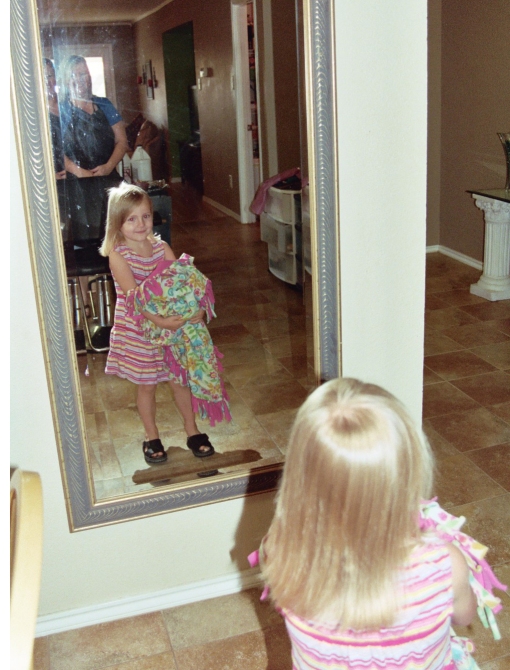
Eliana admiring herself in the mirror after her 1st haircut!

Eliana admiring herself in the mirror after her 1st haircut - 09-08-09

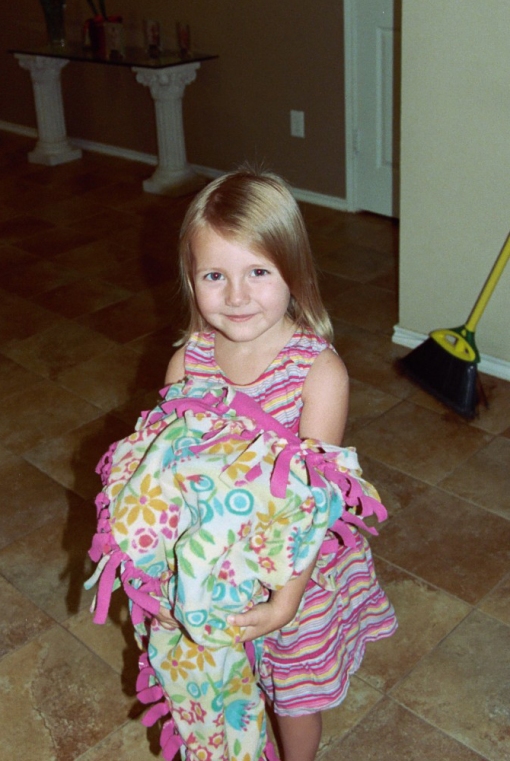
Eliana’s hair after the 1st haircut!

Eliana - after haircut - front - 09-08-09

Eliana - after haircut - back - 09-08-09

Elianas hair after the 1st haircut - back - 09-08-09

She really likes it!

Elianas hair after the 1st haircut - front - She likes it - 09-08-09

And so does her mommy! I think it really makes her look more grown up! She’s becoming such a cute little girl!

Miss Karen picked up the longer chunks of hair and gave them to me for her scrap book. I’m going to miss her baby blond locks, as her hair is turning brown like her mommy and daddy. But her hair looks and feels healthier, and I love her new grown up look!


Lots of fun at the Mom’s Take Home Craft Night!

21 09 2009

I recently joined a local crafting group that meets in my city. Last week, I went to my first Mom’s Take Home Craft Night. I didn’t get home until almost midnight and had a blast!

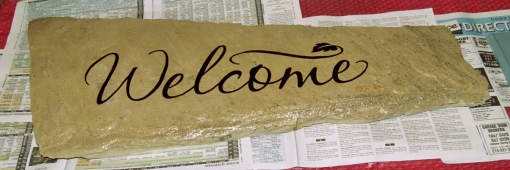
I made two items. The first was a Limestone rock Welcome sign. Jake really likes it, which is nice! I have it by our front door right now. But once I pull weeds in our flower bed, I’ll put it there.

Welcome sign on Limestone Rock

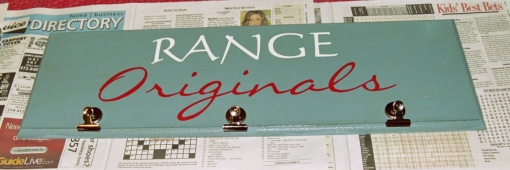
I also made a Range Originals Art Display board. I plan to hang it up in the hallway so that we can display Eliana and David’s art work.

Range Originals Art Work Board

I really enjoyed meeting the other women in the group and had a lot of fun crafting and eating yummy desserts. I look forward to future meetings and making other fun craft items for our home or for gifts!!